Design & Objects

Objects


Page Elements
Creating Objects - Text
 The Text tool is used to insert a constant or variable
text object.
The Text tool is used to insert a constant or variable
text object.
Creating Text Objects
To insert a text object:
- Choose Text from the Draw menu or click the Text tool button on the toolbar. The cursor changes to a cross-hair pointer.
- Click and drag the mouse diagonally to add the text frame.
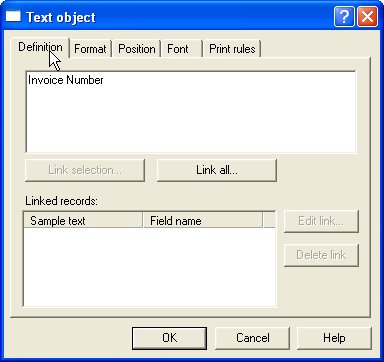
- Release the mouse button and the Text dialog box will open.
- On the Definition tab, enter the desired text into the text area to create a constant text object. Click the Link selection or Link all button to define a variable text object. This object will "import" data from a field in the data file.
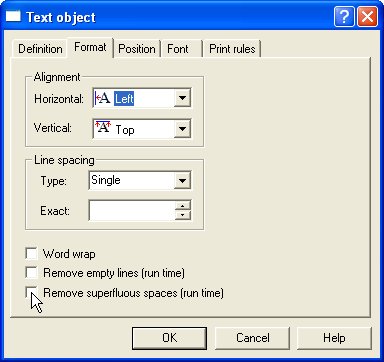
- On the Format tab, set the attributes of the
constant text object:
-
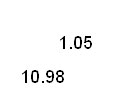
Alignment - alignment of text within the text
frame. Using decimal alignment as an example, which is often
applied on numeric text objects,
- Select the Decimal option for the Horizontal Alignment of the two text object to be aligned.
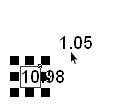
- Select the Right alignment tool
 on the alignment toolbar.
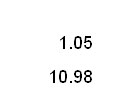
 - Click on the "." (dot) of the first object.
- The second object decimal aligns itself to the "." (dot) of the first object.
- Note: to "push" a right aligned object a controlled distance to the left, see Symbol Characters
- Line spacing - for multi-line text objects, select a fixed spacing or enter a custom line spacing. To enter a custom line spacing, select Exact from the Type menu and then enter a value in the Exact text box.
- Word wrap - for a multi-line text object, check the Word wrap box to wrap lines automatically, varying the height of the text object. according to the amount of text entered. The text may grow down, up or both ways depending on the Vertical alignment being Top, Bottom or Center.
- Note: The position at which the text word-wraps is defined by the size of the text frame which you can reset by moving the handles.
- Remove empty variable lines - remove blank lines from the variable data. For example, if a set address lines is missing line 2, the blank line is suppressed at runtime.
- Remove superflous spaces - removes embedded multiple spaces in the completed object, ideal for concatenation of multiple data fields, such as suburb, post code (zip-code) and state.
-
Alignment - alignment of text within the text
frame. Using decimal alignment as an example, which is often
applied on numeric text objects,
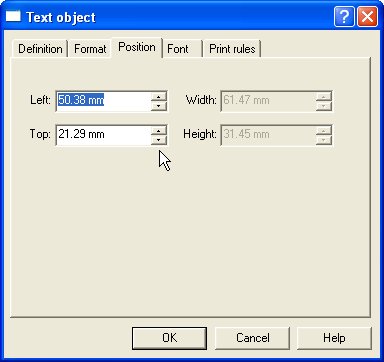
- On the Position tab, set the position of the constant text object. Enter a value in Left, for the object's offset from left value and Top, for the object's offset from top value.
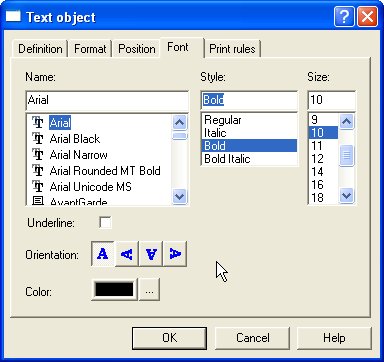
- On the Font tab, set the attributes of the font
used for the constant text object:
- Name - select the font type.
- Style - font can be Regular, Bold, Italic or Bold Italic.
- Size - select the size of the font.
- Underline - check the Underline box for the text to be underlined.
- Orientation - orientation of the text relative to the page.
- Color - select the color of the text.
The Print rules tab allows conditions to be set for printing of this object, see Print Rule for an object.