Projects


Overview
The Projects area shows the documents in this project. Active
(editable) documents may be less than this, especially for projects
with a large number of documents. Projects is where documents are
added, deleted and edited.
Load and Close Documents (minimum active forms improves response times for the program)
The green buttons above the Project area open and close documents.
 Open
views button adds the document to the active list and opens
the document titles (form) then (data) left in the
title bar.
Open
views button adds the document to the active list and opens
the document titles (form) then (data) left in the
title bar.
 Close
views button removes the document from the active list and
from titles.
Close
views button removes the document from the active list and
from titles.
Where you have a project with a number of documents, closing the
ones not being worked on improves performance (which degrades if a
large number of forms are all active).
You can also close the (data) and (form) views on
the active screen.
 and press
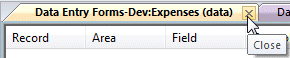
Project Open and Save
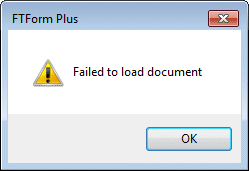
Version 8.11 of this program introduced multiple rules on delivery
tags, forcing a change in file format. Incompatibility between
formats (version 8.10 FTForm Plus and earlier trying to Open
Version 8.11 and later files) produces these errors:
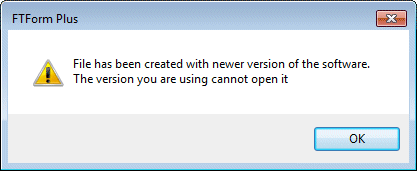
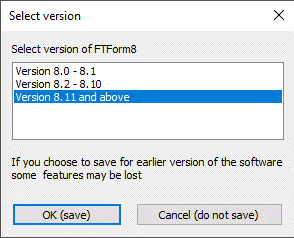
Save and Save As produce this dialogue box for
earlier files being processed with Version 8.11 and up FTForm Plus
versions:
This message is produced only if versions differ AND Preferences,
![]() Options
has Always suggest target version ... ticked.
Options
has Always suggest target version ... ticked.

Add a New Document
To define a new document see HERE.
The other way to generate a new Document is to copy and paste an existing one.
This is covered HERE.
Select Document
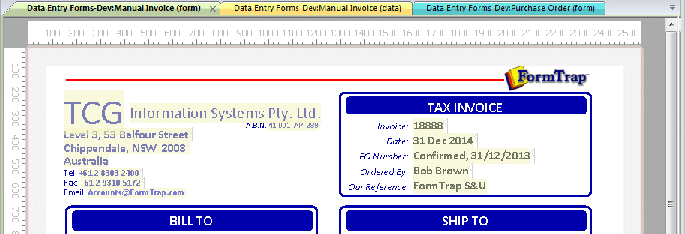
The main screen shows as many document titles as will fit. Each
document has two titles, (form) and (data). One of
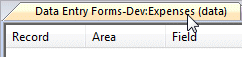
the titles will be Bold - Data Entry Forms-Dev: Manual Invoice
(form) indicating what is shown on the main screen.
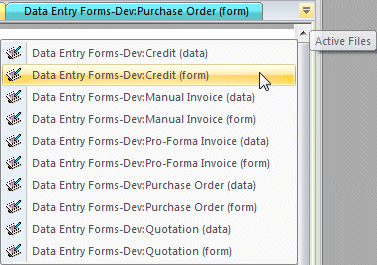
The right of the titles bar has an  Active files buttom which shows a list of
active files.
Active files buttom which shows a list of
active files.
Chose one to open it at the left of the title bar (the right-most
title drops away).
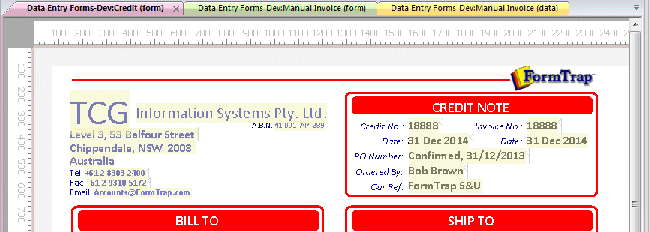
This is the result, with the Credit (form) brought to
view.
Document Evaluation Order
Data is compared to document definition in Evaluation Order, which is the sequence in which the document identification rules are checked against incoming files to determine which documents exist. Evaluation order is irrelevant for Questionnaire document.
See how to change Evaluation Order HERE.
Bins and NCR Paper for a Document
Unusually, some documents may require bin selection settings, normally checks (cheques) where the first page is perforated check paper from a special bin and overflow plain white page(s) are from the default bin. This saves wasting check stock and particularly accounting for VOID checks.
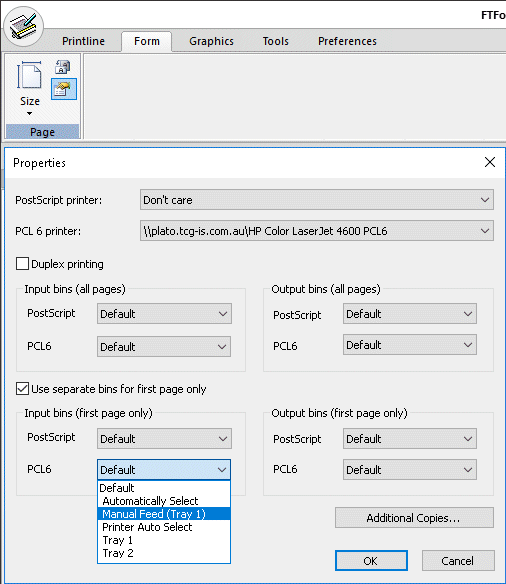
From the (form) view, select Page Properties.
Modify required bins for the printer(s) that are to be used in production and and OK. This shows a "typical" Check (Cheque) production run with perforated check stock in the manual bin.
These are the selections for the above check print senario:
PCL6 Printer: specific check printer
Use separate bins for first page only is ticked
PCL6 where the manual feed tray is selected
This same screen may be used to duplex print documents and to configure output bins.
Warning: Do NOT use the bottom panels unless you are printing checks (cheques) or have some special features of stationary that requires a separate bin for Page 1 (like pre-printed color logo on Page 1 with continuation pages on plain white).
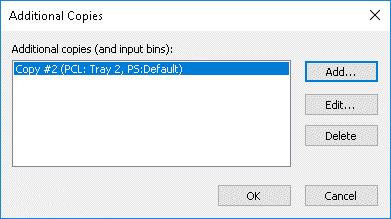
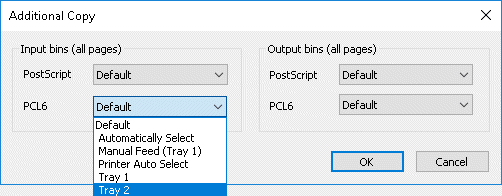
Another uncommon use for bins is to form multi-part "NCR Paper"
pages (available from Version 8-21) where typically each sheet is
from a specified bin (1st bin White, 2nd bin Yellow and 3rd bin
Blue), collated by page, output delivered to one bin. Chose the
first page input bin from the above screen (top
group of selections, NOT the bottom set which are for check
printing), then select Additional Copies ... (lower
right) which opens this for additional copies:
This screen collects the input bin for each additional copy: